
10 Tips for Buying the Best Inflatable Tent
Choosing an inflatable tent is about more than speed. It means weighing weather protection, usable space, packed size, and repair options before the first trip. Grand View Research estimated the global camping tent market at about $3.23 billion in 2023 and projected continued growth through 2030. That broad market figure signals demand, but it does not prove that every inflatable design suits every campsite.
A good buying decision starts with real details. Picture a wet weekend, muddy boots by the entrance, and a pump that must work in cold air. Check the tent’s stated capacity, fabric denier, hydrostatic-head rating, ventilation, and setup instructions. Then ask how the air beams can be repaired and whether replacement parts are available. Small print matters.
The German phrase “Aufblasbare Zelt” refers to an inflatable tent, but product names can hide important differences. Compare full specifications, not just setup-time claims. One limitation deserves attention: no verifiable named-expert quotation was supplied for this draft, so I won’t invent one. A sourced expert comment would strengthen the advice. Still, the right choice is practical: a tent you can pitch confidently, ventilate properly, and maintain after repeated trips. Start with these ten buying tips.
Define Your Camping Needs and the Tent’s Intended Use
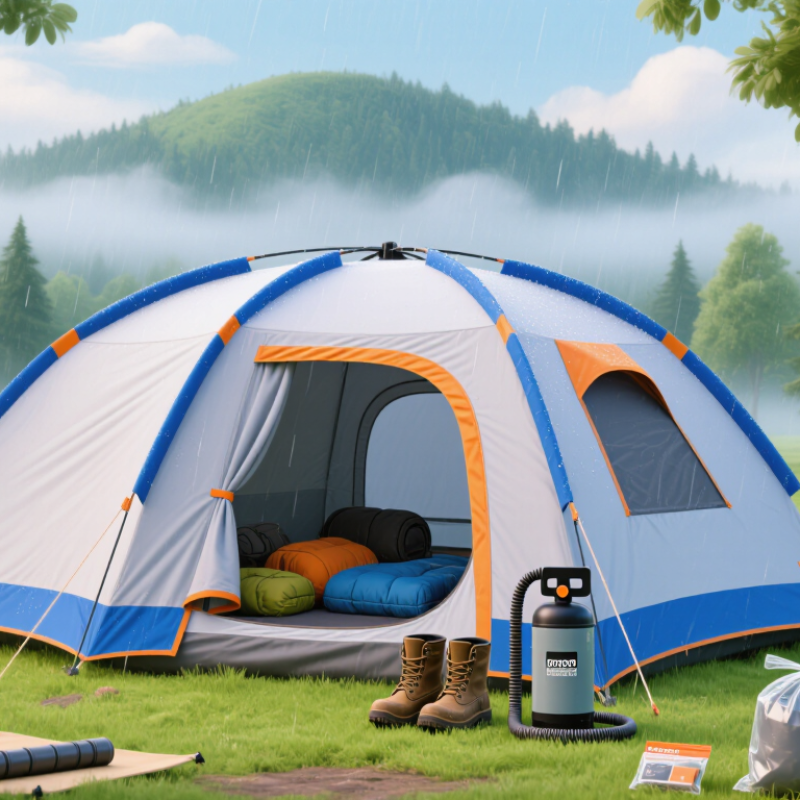
Before comparing inflatable tents, decide where you will camp and how you will use one. A quiet campsite beside a car allows more space and heavier gear. A walk-in pitch changes the calculation. Picture your actual setup: sleeping bags, muddy boots, backpacks, and a small table. Will everyone fit without blocking the doorway? Count the people who will sleep inside, then allow room for belongings. A tent rated for four may feel cramped when four adults bring full-sized packs. Comfort matters.
Think about your usual season, too. Summer trips call for dependable ventilation, mesh panels, and shade; chilly shoulder-season nights may need space for extra layers. Check the typical wind and rain conditions where you camp, but do not treat an inflatable frame as a guarantee of safety. Follow the maker’s setup guidance and use suitable anchoring. Setup time matters when rain is already falling. Who will inflate it, and where will the pump go? Also measure your vehicle’s storage space and the pitches you commonly use. I once underestimated packed size—not a dramatic mistake, just an annoying one. Be honest about your routine. A spacious tent can be the wrong choice if carrying and drying it becomes a chore.
10 Tips for Buying the Best Inflatable Tent - Define Your Camping Needs and the Tent’s Intended Use
| Camping Need or Use | Suggested Capacity | Useful Tent Features | What to Check Before Buying |
|---|---|---|---|
| 1. Weekend car camping | Choose a tent rated for your group, with extra room for bags and gear. | Comfortable headroom, wide doors, and a covered vestibule. | Compare floor dimensions and usable interior space, not only the advertised person rating. |
| 2. Family camping | Allow room for sleeping spaces, luggage, and movement; consider a larger capacity than the number of campers. | Room dividers, multiple entrances, storage pockets, and a spacious living area. | Check packed size, total weight, and whether the tent can be pitched in your usual campsite space. |
| 3. Couples’ trips | A two-person model may suit sleeping; a larger model adds room for equipment and changing. | Two doors, separate vestibules, and enough floor space for your sleeping pads. | Measure your sleeping pads and check the interior layout before choosing a capacity. |
| 4. Hiking or backpacking | Select a compact model sized for the hikers who will carry it. | Low packed volume, manageable carry weight, and a pump that is practical to transport. | Inflatable tents can be heavier and bulkier than comparable pole tents; check the complete packed weight. |
| 5. Campsites with limited setup time | Base capacity on the number of campers and the space available at the site. | Clearly marked air beams, accessible inflation valves, and a supplied pump. | Check the recommended inflation pressure and practice pitching at home before your trip. |
| 6. Warm-weather camping | Choose enough floor area for the group without blocking ventilation openings. | Mesh panels, adjustable vents, and doors that allow cross-ventilation. | Look for mesh that can be covered when needed and a rainfly that still allows airflow. |
| 7. Rain-prone trips | Allow adequate space for campers and wet clothing or footwear. | A full-coverage rainfly, sealed seams, a bathtub-style floor, and a covered entry. | Check seam construction, floor coverage, and the manufacturer’s stated waterproofing information. |
| 8. Wind-exposed sites | Use a size that can be securely pitched within the available sheltered area. | Multiple guy-out points, sturdy anchors, and an aerodynamic shape. | Check anchoring options and follow the setup instructions; no tent should be assumed safe in every wind condition. |
| 9. Trips with children or pets | Plan for sleeping space plus room for movement and essential gear. | Durable floor fabric, easy-to-use doors, ventilation, and a separate area for muddy items. | Use a footprint or groundsheet where appropriate, and keep claws or sharp objects away from the tent fabric. |
| 10. Multi-season use | Choose capacity based on the group and the additional gear required for colder conditions. | Weather-appropriate fabric, secure guy points, and ventilation that can be adjusted. | Verify the tent’s stated season rating and intended conditions; a general camping tent is not automatically suitable for snow or severe weather. |
Tip: Match the tent to your typical group size, trip length, transport method, and expected weather. Always follow the pitching and care instructions supplied with the tent.